Laptop Battery Replacement
I recently replaced the battery in one of my laptops. For the past few months I have been living with a battery that has drained quickly, even after charging over night.
The process was simple and did not require any special tools. Best of all it only took a few minutes to complete.
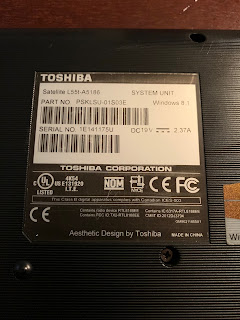
The Laptop in question was a Toshiba Satellite L55t-A5186. I picked this laptop up second hand from a individual who mainly used it for work. It was well cared for, but it is older.
Anyways, to replace this battery I had to remove a number of screws (12) from the bottom of the laptop. One of the screws held the CD-ROM drive in place. The CD-ROM drive must be fully removed in order to be able to pull the bottom off of the laptop. The CD-ROM drive is located on the right side of the laptop (if looking at the bottom of the Laptop), and just slides out after removing one of the 12 screws on the bottom.
Another part that needs to be removed is the RAM compartment cover. I'm not sure if that's the right name for it but I think it fits. It is removed by unscrewing one of the 12 screws and pulling it off. It should come off easily. It is pictured below.
Once the screws have been removed, the bottom cover comes off with some slight pressure. Just go slow and the bottom cover will come off. Underneath the cover you'll have access to most of the Laptop's components. You'll want to locate the battery, which should look something like the white thing in the picture below. The battery is connected to the motherboard by a small connector (upper left side of picture). Carefully pull this connector out of the housing. After disconnecting the battery from the motherboard, the battery will pull freely out of the laptop.
To install the new battery just follow these steps in reverse.
Replacing the battery has vastly improved the battery life and charging time of my laptop.


Comments
Post a Comment